Content Attributes
Sound quality is important for a podcast because it can influence how engaged listeners are with the content. If the sound is garbled or difficult to understand, listeners may not be able to follow along and could potentially lose interest in the podcast. In addition, poor sound quality can make it difficult for people to appreciate the content and may even cause them to tune out.
By ensuring that your podcast has high-quality audio, you can help keep listeners engaged and ensure that they get the most out of your content. But how can you test the quality of a podcast mic? And how can you guarantee that your mic is reliable? Find out the answers to these questions below.
Test the podcast microphone against a known good microphone:

A good way to test the quality of a podcast microphone is to compare it against a known good microphone. This will help you determine how well the microphone is performing and if there are any areas that need improvement. If you want to know how to find a good mic, Musician Nerd is the best resource for honest reviews about audio equipment.
To test your new podcast microphone, make sure that both microphones are set to the same recording level. Next, make a recording of a voice memo or other sound with both microphones. Listen to the recordings and make a note of any differences in quality.
The podcast microphone may have a higher or lower noise level than the known good microphone. The microphone may also have a different sound quality, such as being brighter or harsher. Additionally, the microphone may not be as accurate in terms of reproducing the sound.
By testing the podcast microphone against a known good microphone, you can get a better idea of how well it is performing. This can help you make any necessary adjustments to improve the quality of your recordings.
Plug the microphone into an audio input jack on your computer:

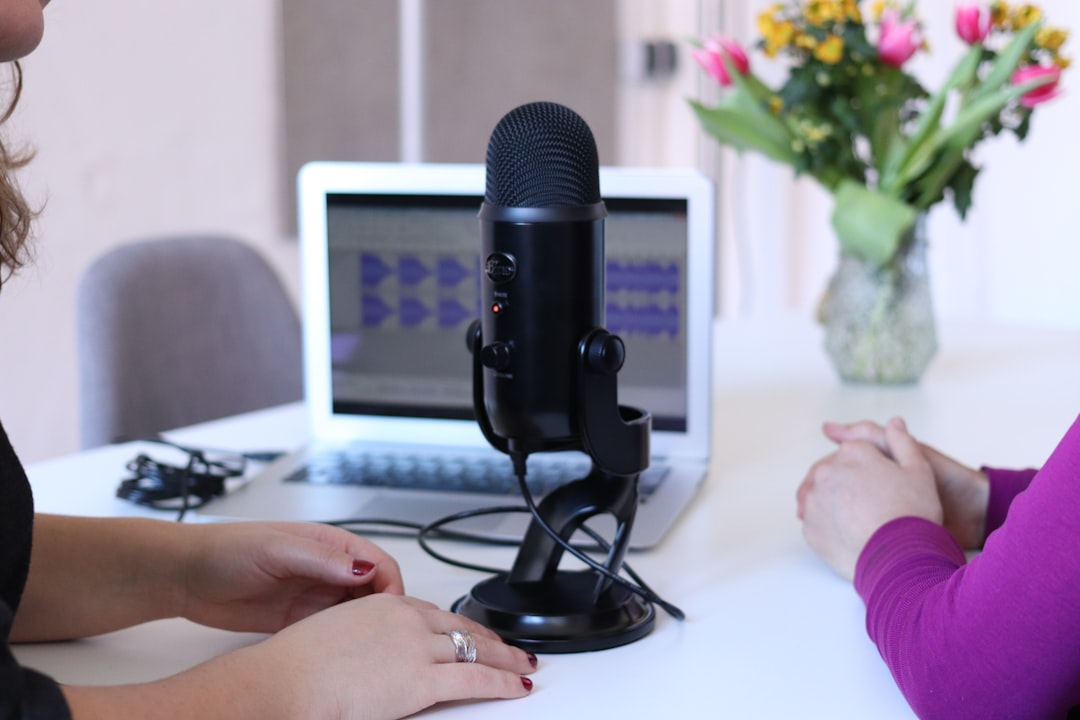
Plug the microphone into an audio input jack on your computer. If you’re using a Mac, open the “Audio MIDI Setup” application and select your microphone under the “Input” tab. If you’re using a Windows computer, open the “Sound” window and select your microphone under the “Recording” tab.
Speak into the microphone and make sure the levels are peaking in the green. If the levels are too low or too high, adjust the input volume on your computer until the levels are in the green.
Now, record a short audio clip of your voice and play it back to make sure the quality is good. If the quality is not good, try adjusting the settings on your podcast microphone until you get the best sound.
Check the microphone’s distortion, frequency response, and sensitivity
This can be done by playing a loud, consistent sound and noting how the microphone responds. If there is a lot of distortion, the microphone is not suitable for podcasting. It’s also important to check the microphone’s frequency response. This can be done by playing a range of sounds and noting how the microphone responds to different types of sound.
If the microphone does not respond well to a variety of sounds, it may not be suitable for podcasting and you’ll want to consider other options. Lastly, you’ll want to check the microphone’s sensitivity. This can be done by speaking into the microphone and noting how loudly the sound is heard. If the microphone is not sensitive enough, it is not suitable for podcasting.
To test the quality of your podcast microphone, you can record a short test clip, test it against different mics, and test for distortion, frequency response, and sensitivity. Making sure that you have great sound quality can make all the difference in the growth of your podcast.